Installing Microsoft Windows to Online.net’s (www.online.net) Personal Range, specifically XC 2016 and SC 2016, of dedicated server’s is impossible using conventional methods due to the lack of a KVM console with video output, however Windows can still be installed!
We, the volunteers here at WhatUpTime, has built special templates allowing Windows to be installed via Online.net’s rescue system; their rescue system is included with all of their servers.
The guide below will walk you through the entire process, from beginning to end. Once you have reached the end of the guide your server will be successfully running Microsoft Windows Operating System.
Additional assistance is available via our community forums.
Tools You Need
- SSH Client (Putty is an excellent choice)
- Online.net Personal Range Dedicated Server (XC 2016 or SC 2016)
- Remote Desktop Client (RDP) – “Remote Desktop” Client is built into all Windows Operating Systems
The Guide
- Log into your Online.net Control Panel
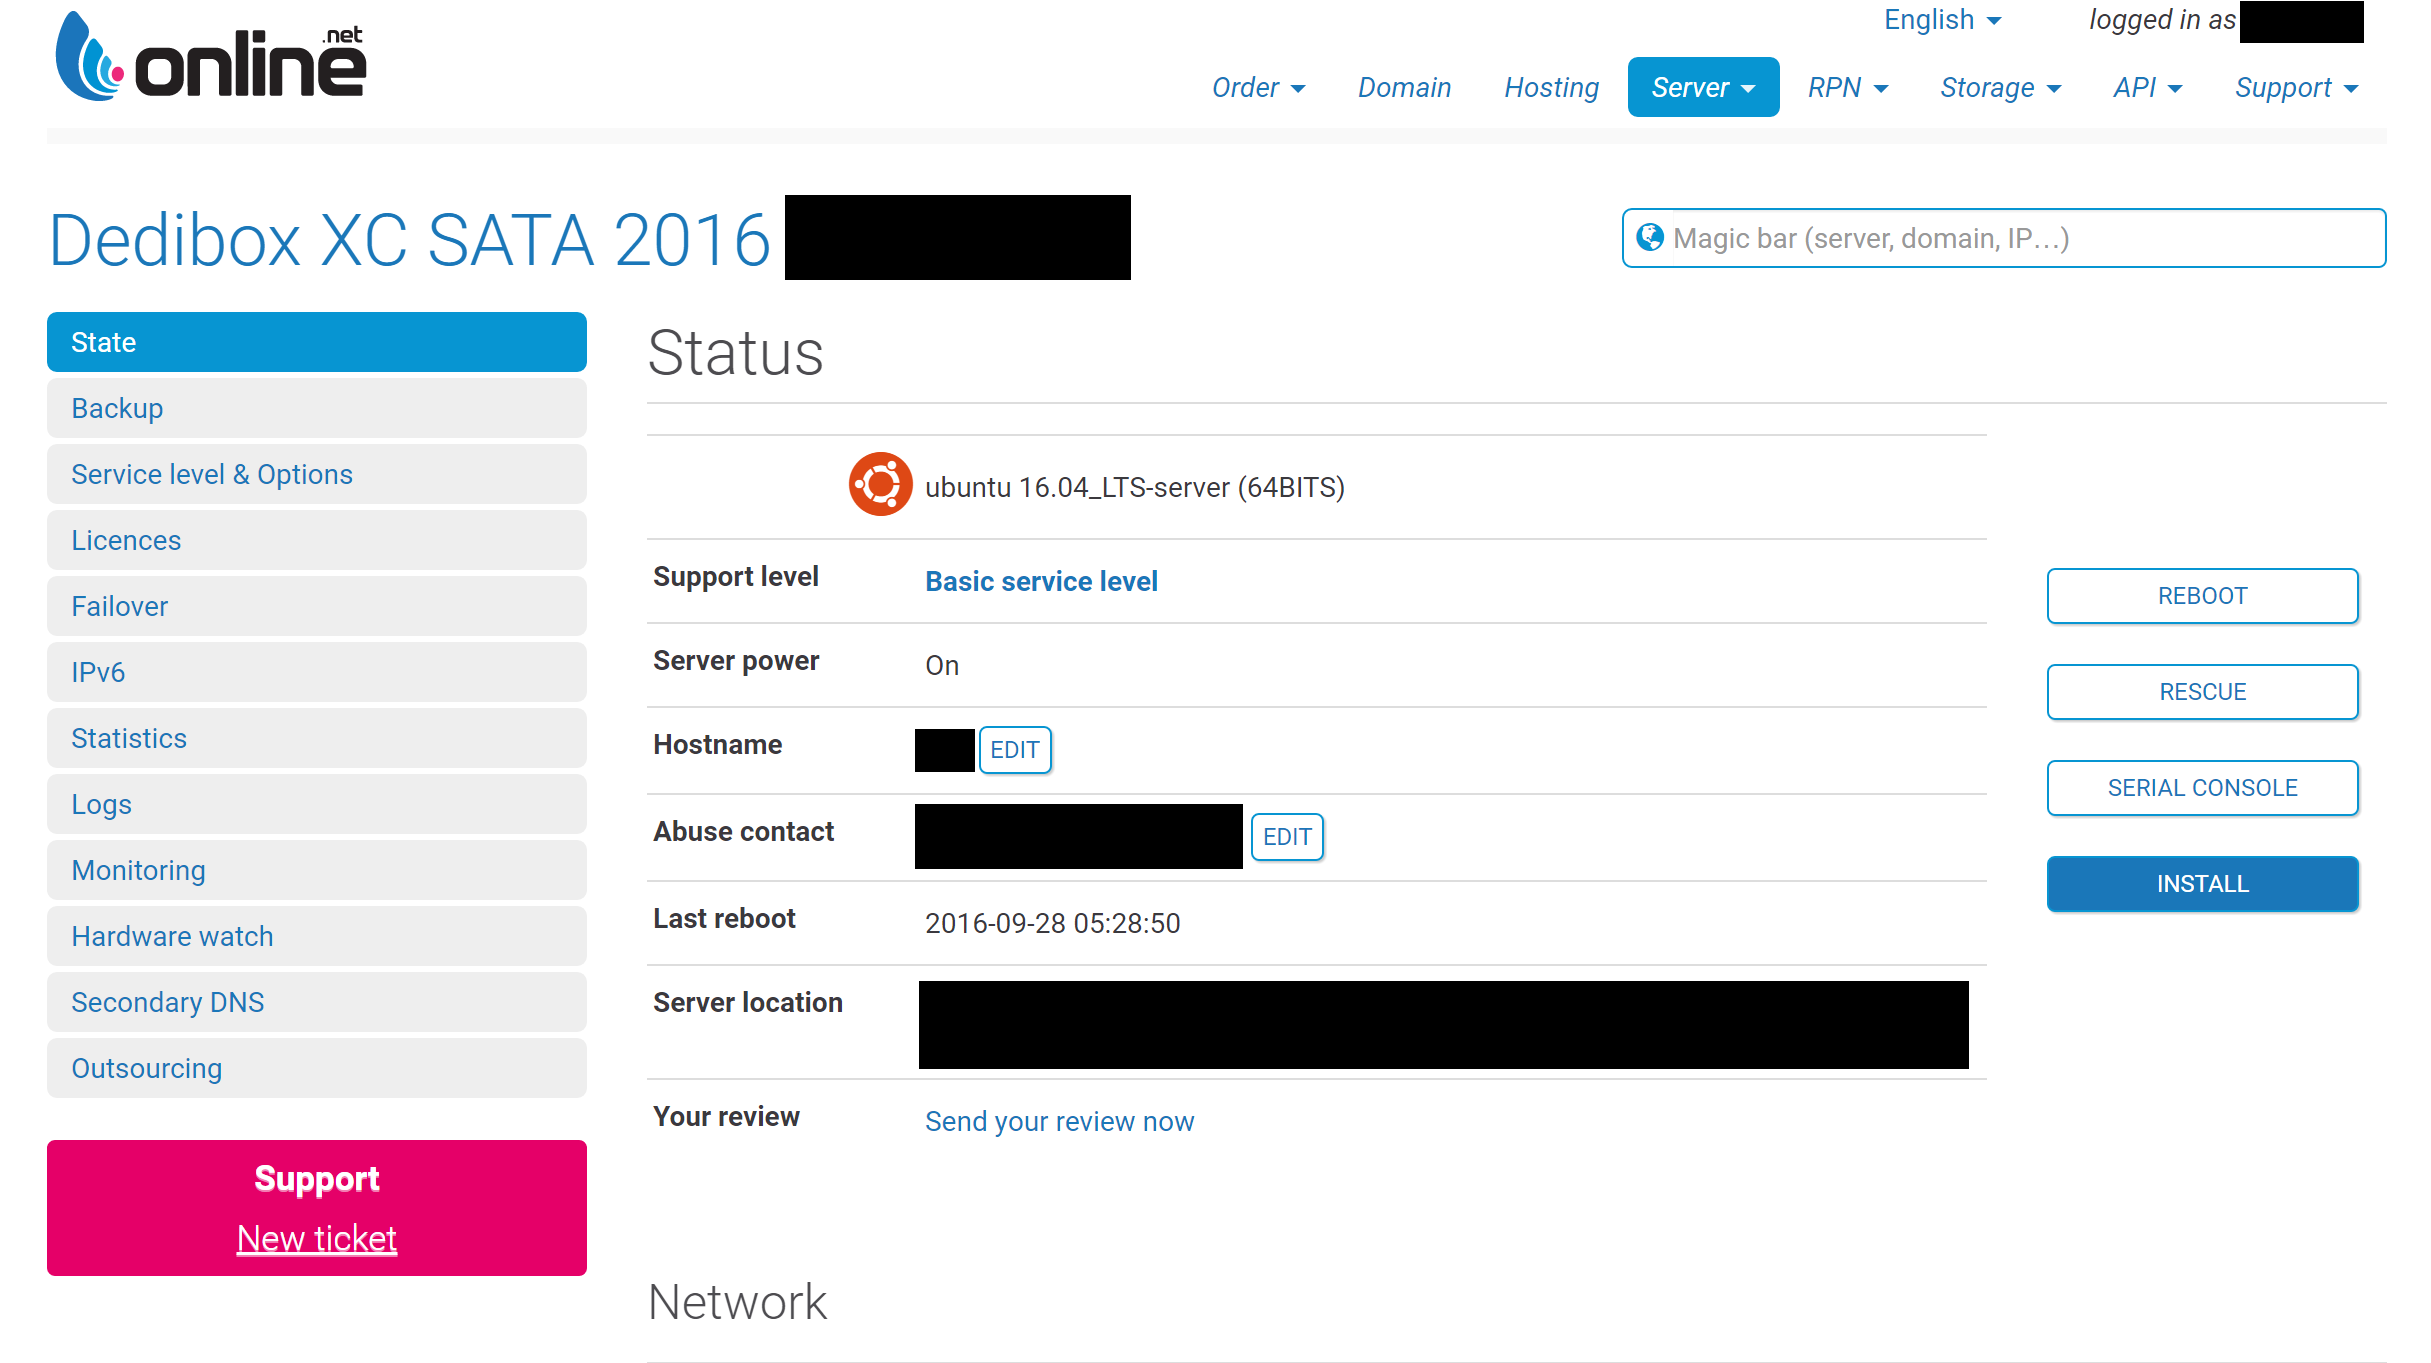
- Once you have logged in, you will need to navigate to your server list (Login –> Server –> Server List)
- Choose “Manage” to the right of your dedicated server in the list.
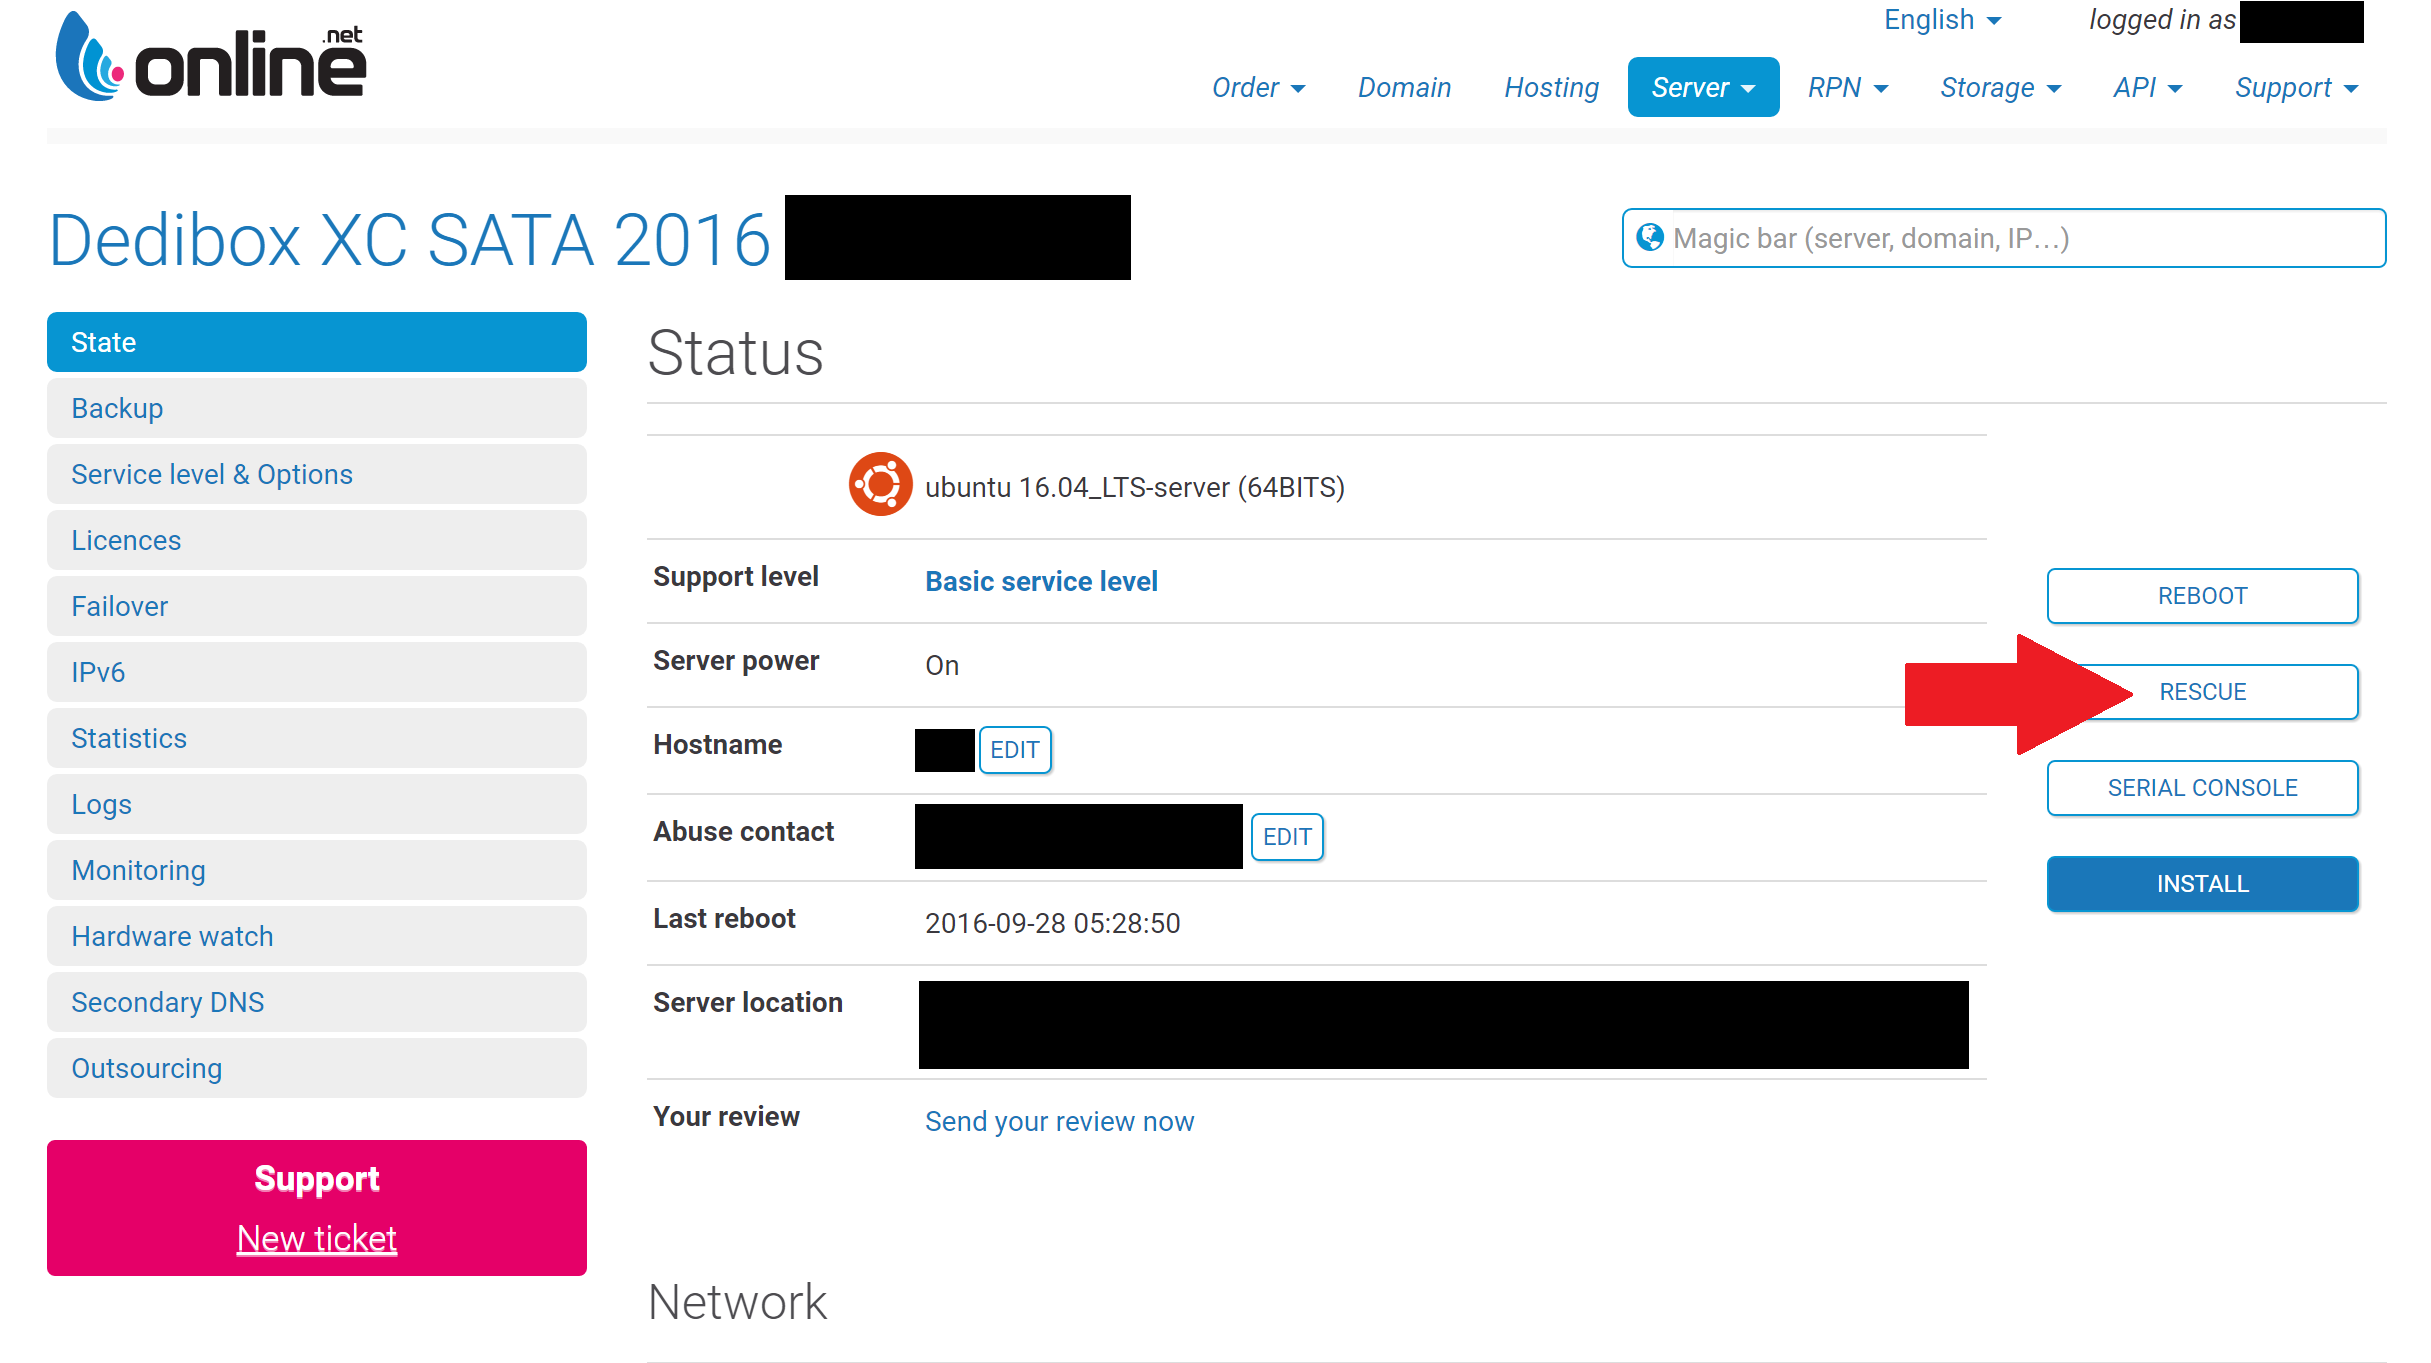
- Choose “Rescue”
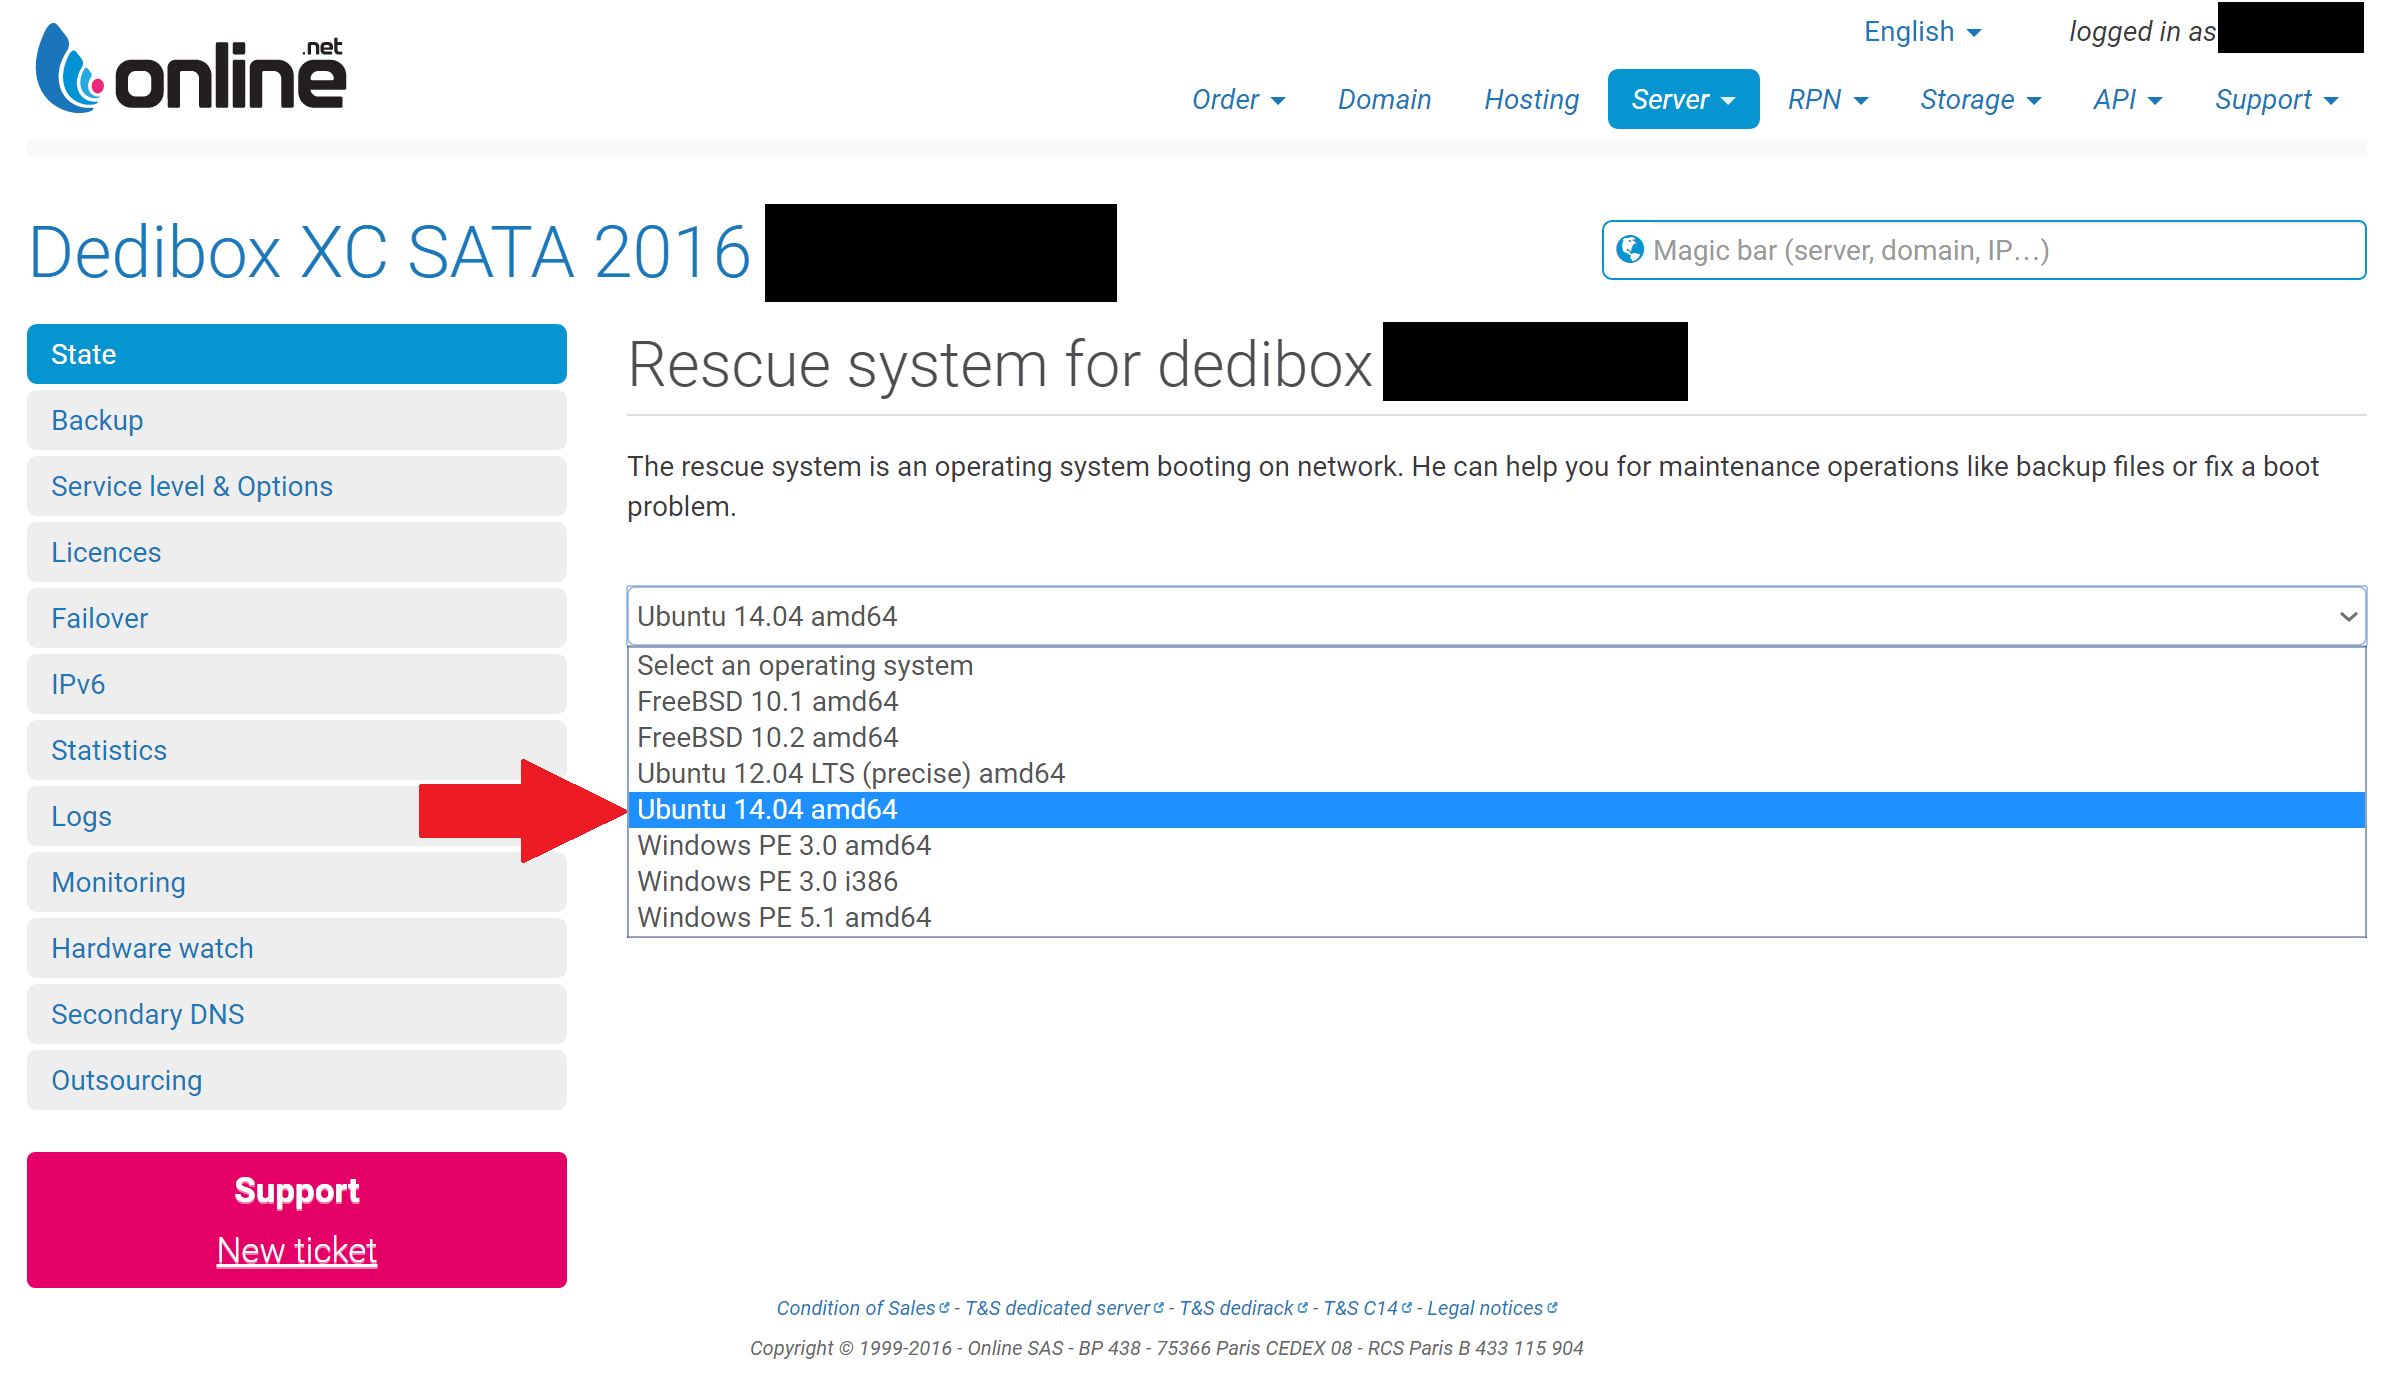
- Choose “Ubuntu 14.04 amd64” from the drop down menu.
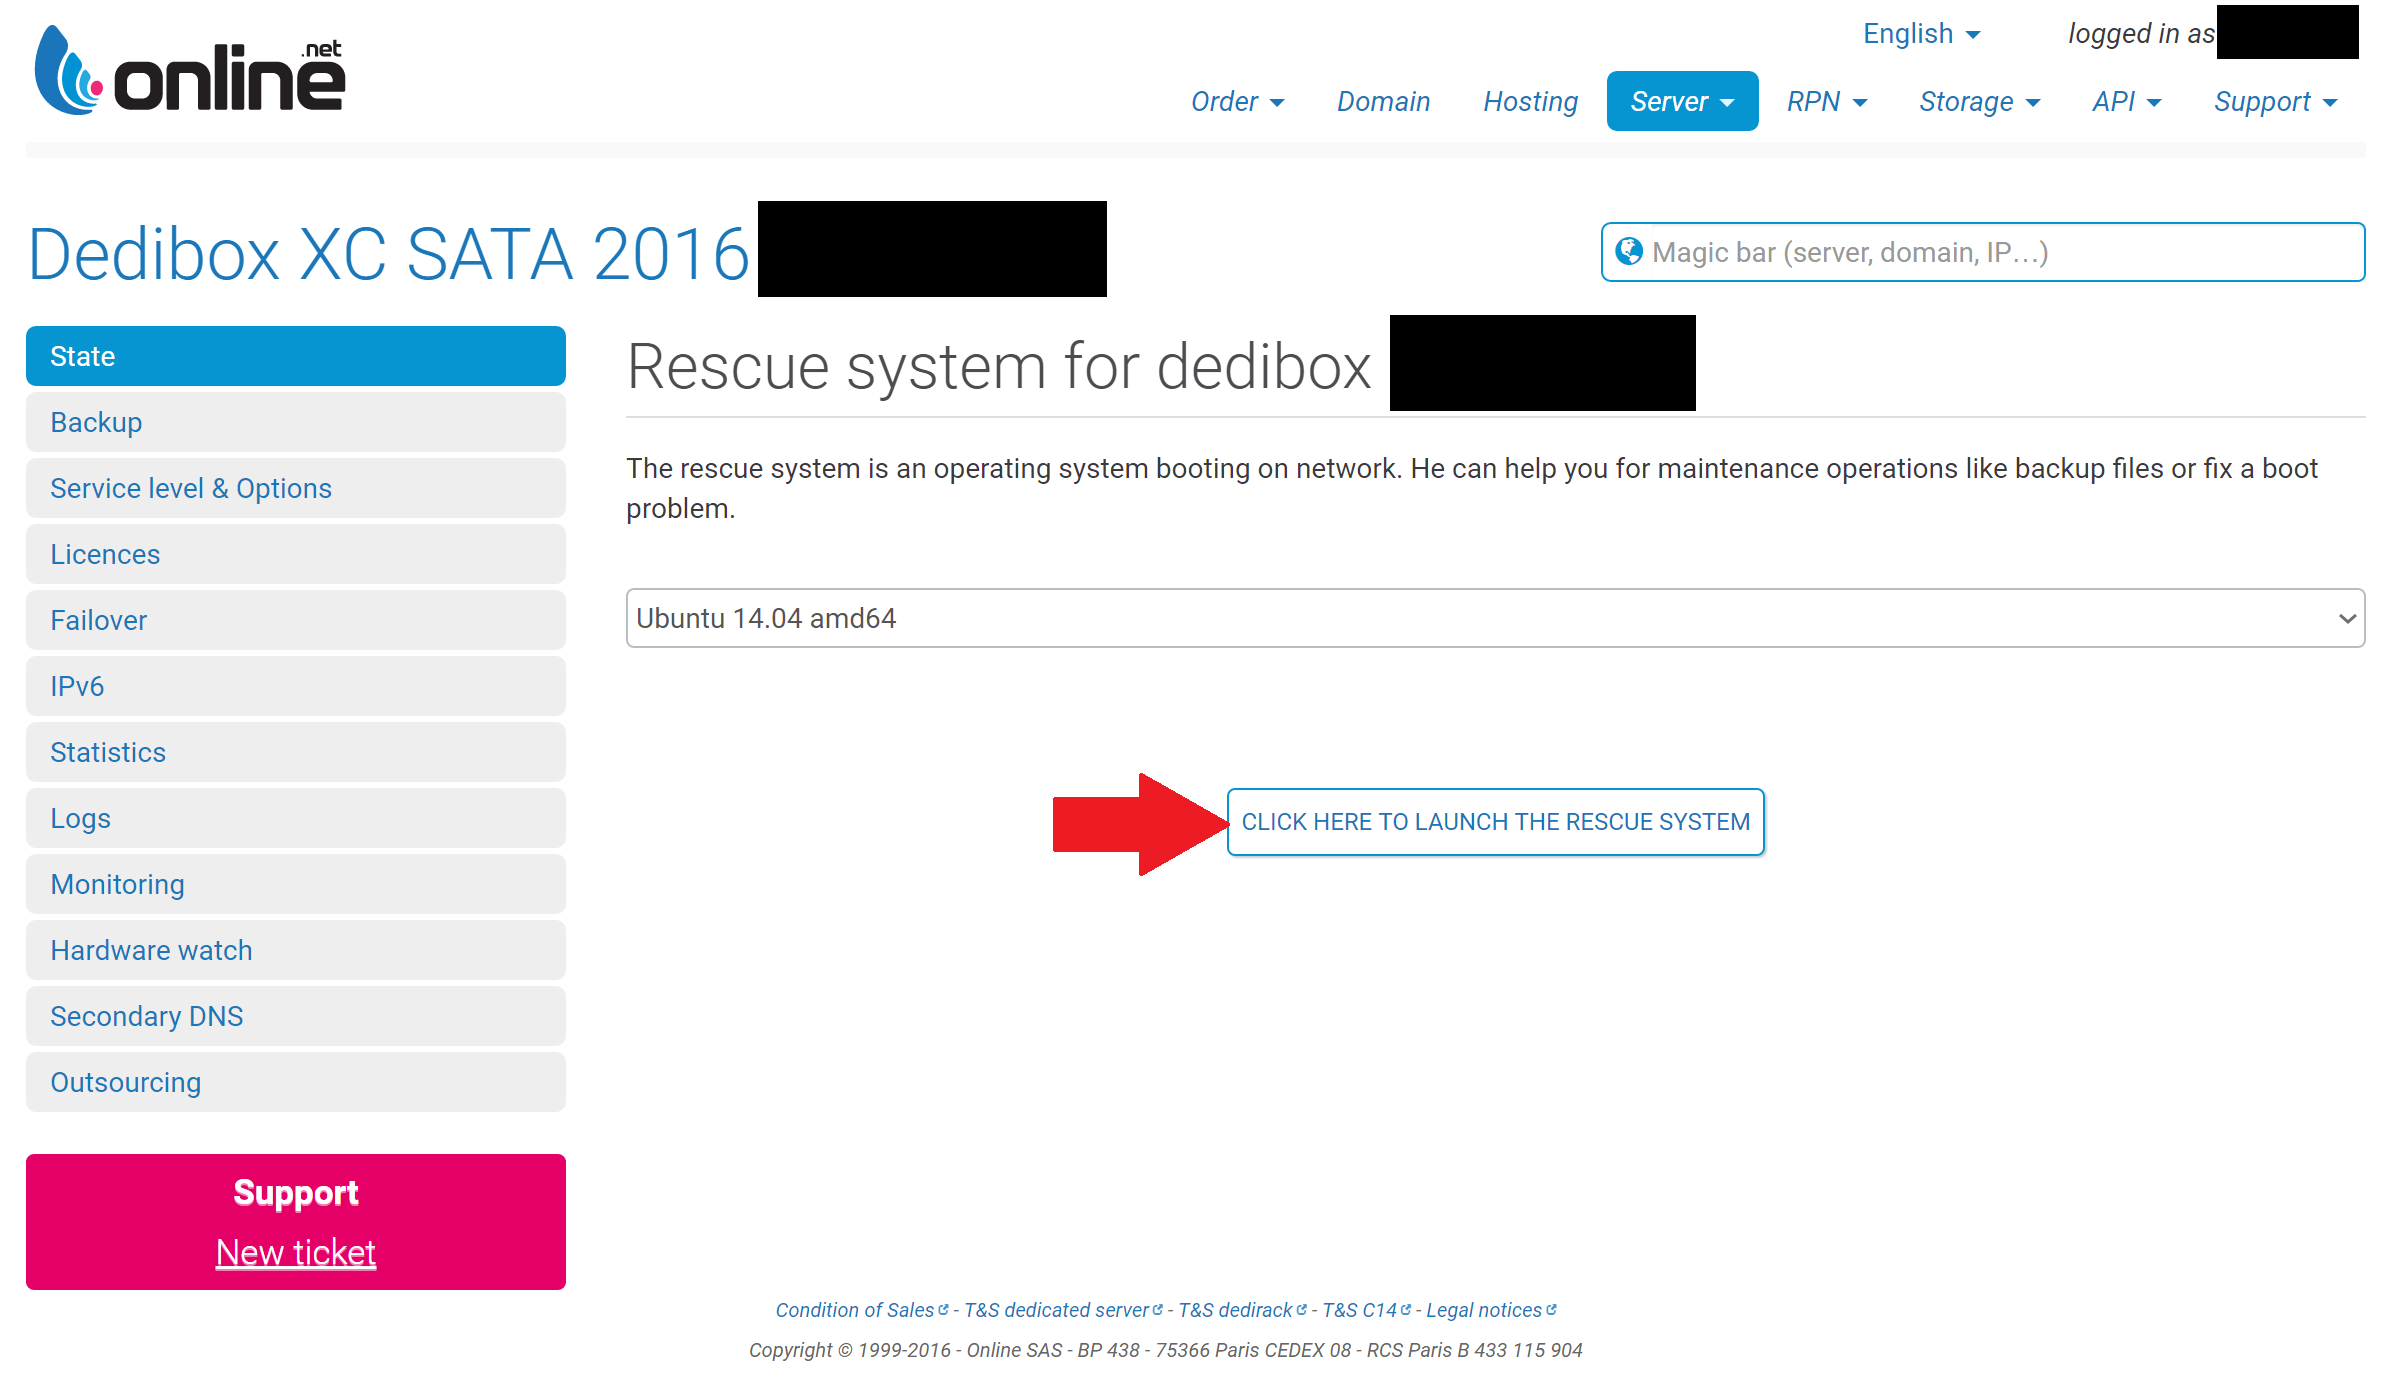
- Choose “Click Here to Launch Rescue System”.
- Your server is now being restarted and will shortly boot into Online.net’s rescue mode.
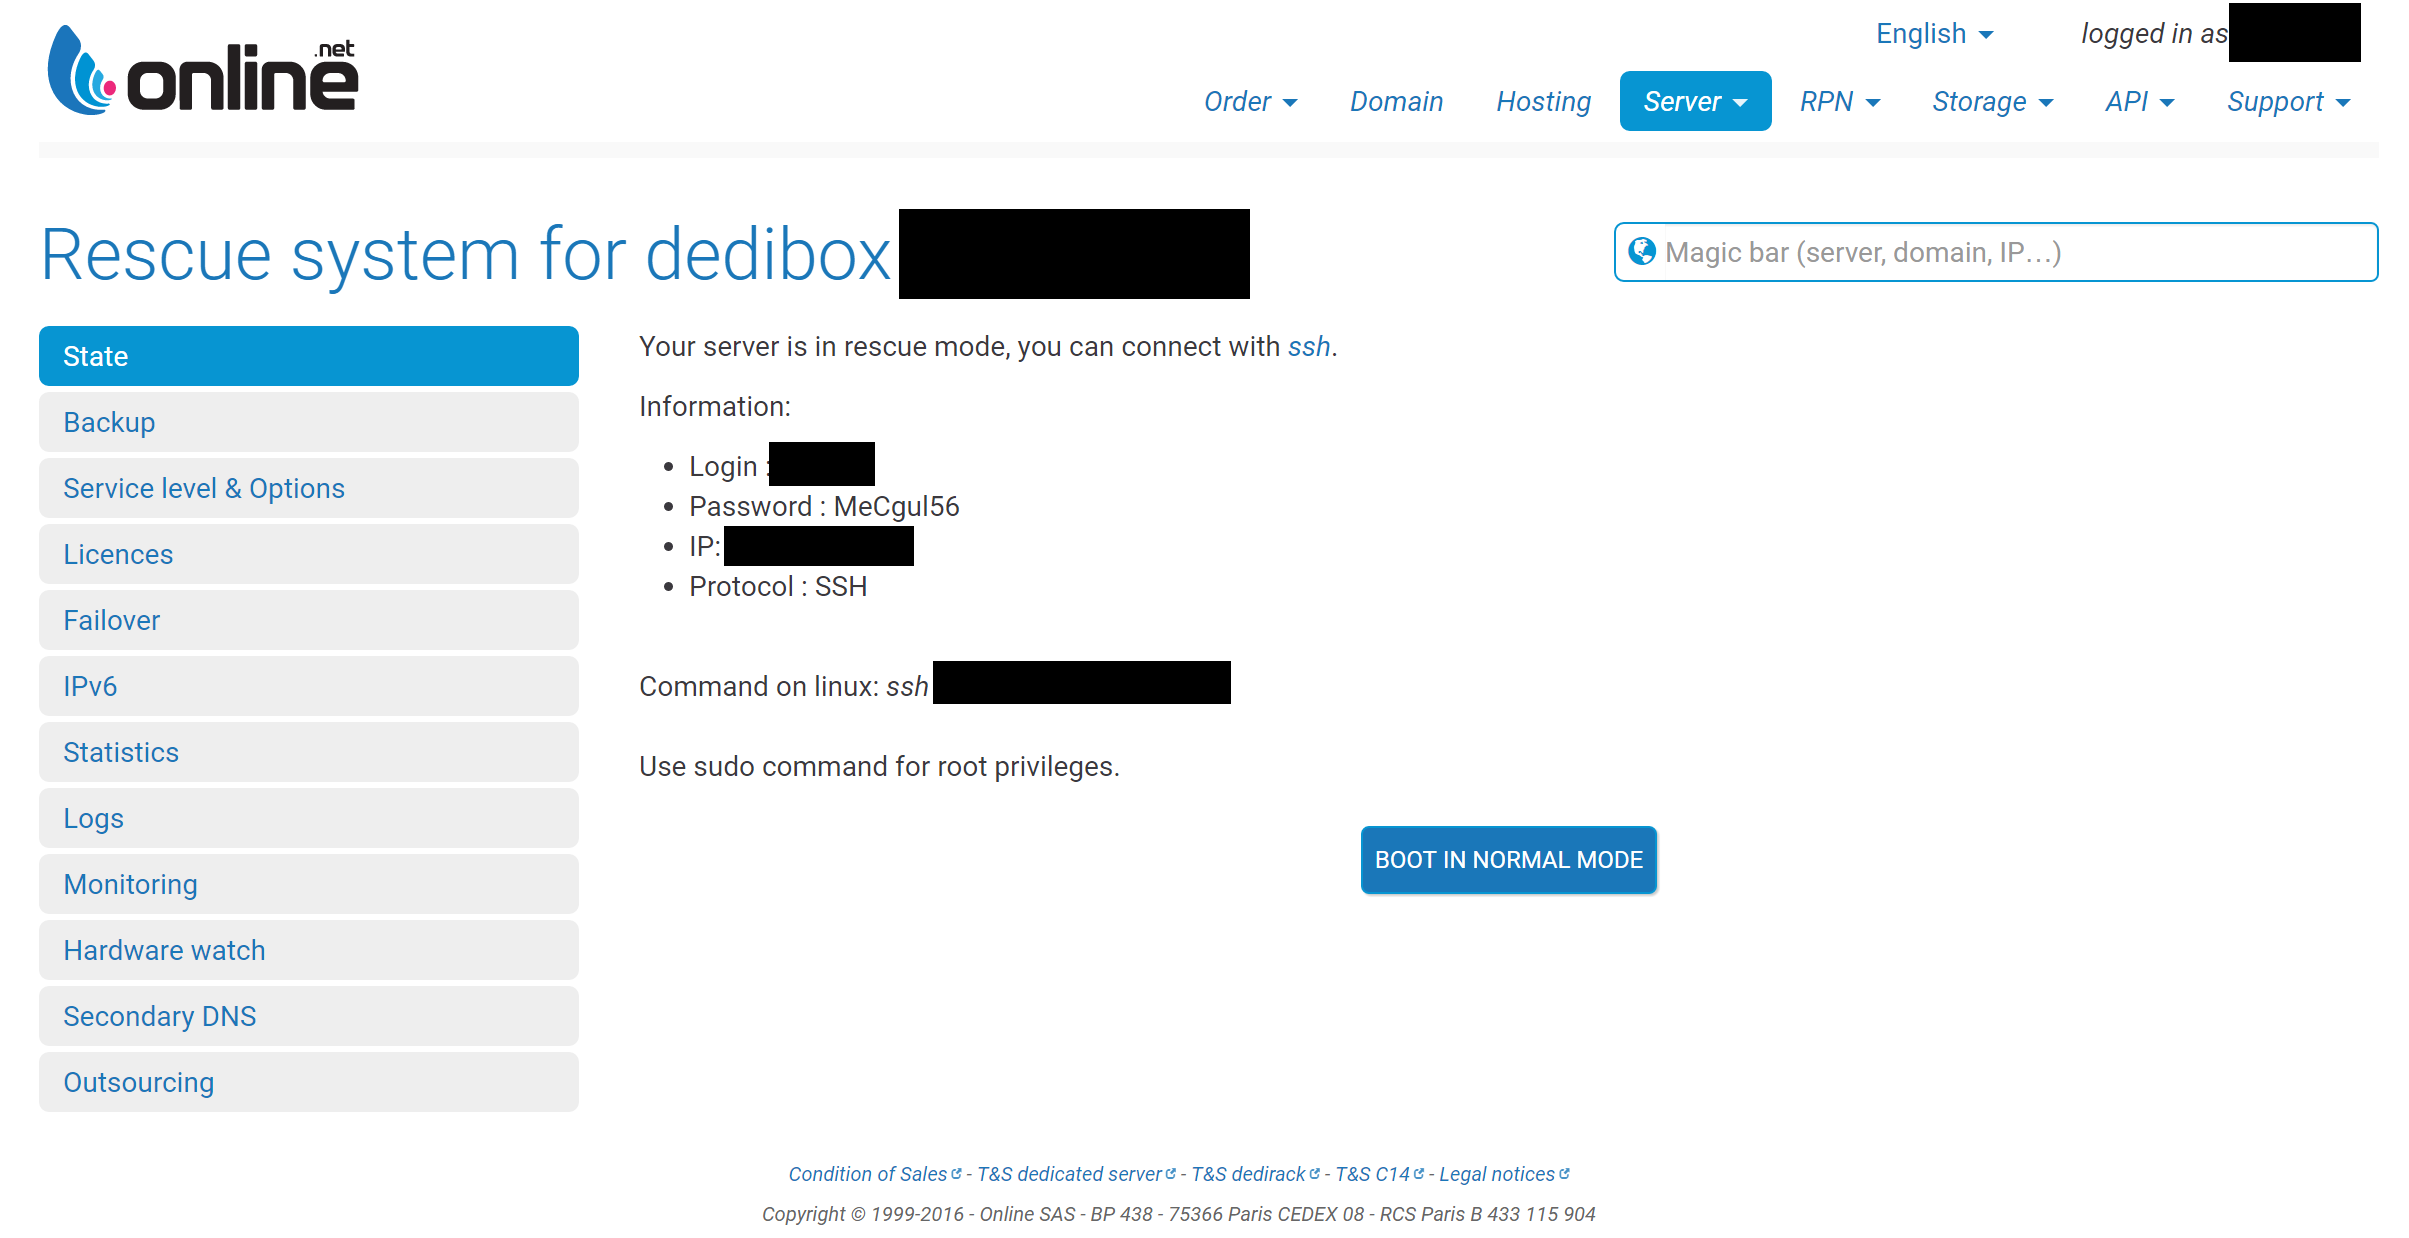
- Once you have chosen “Click Here to Launch the Rescue System” Online.net’s control panel will load a new web page which includes all the access information for rescue mode. You will access rescue mode for your server via SSH (Putty is an excellent SSH client); the guide will detail how to connect in the steps below.
- Now that your server has booted into rescue mode we can connect via SSH using the following steps.
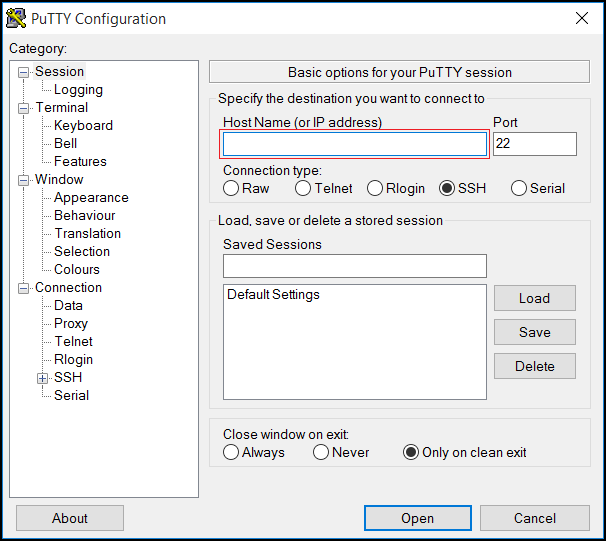
- Start Putty
- Input your server’s IP address
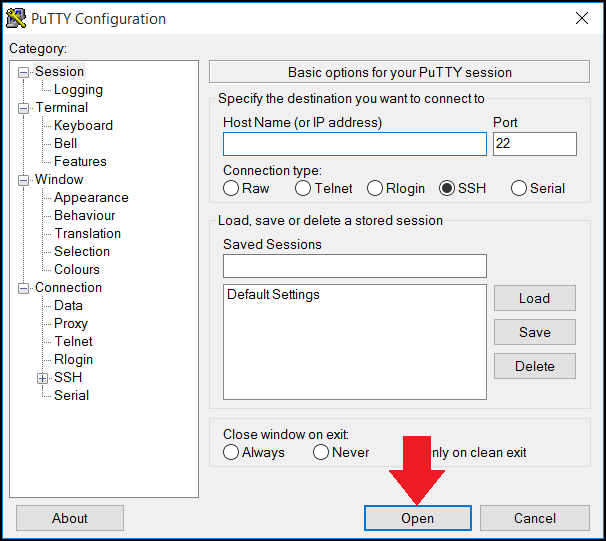
- Choose “Open” at the bottom.
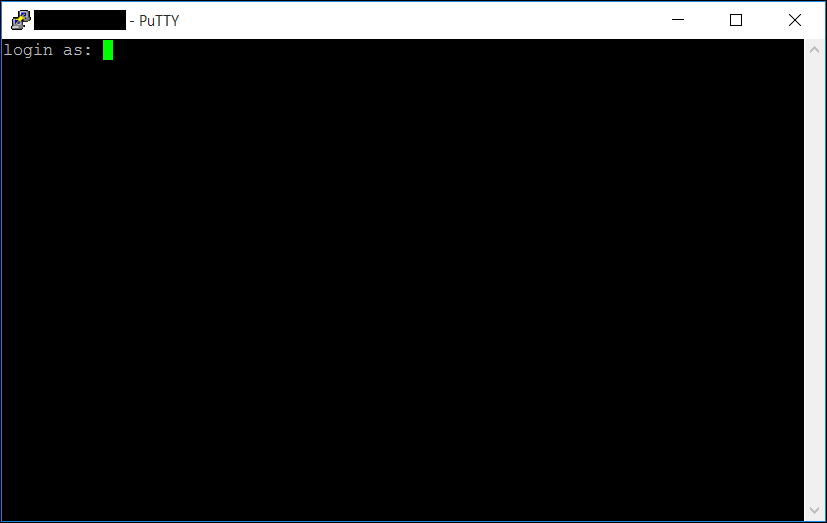
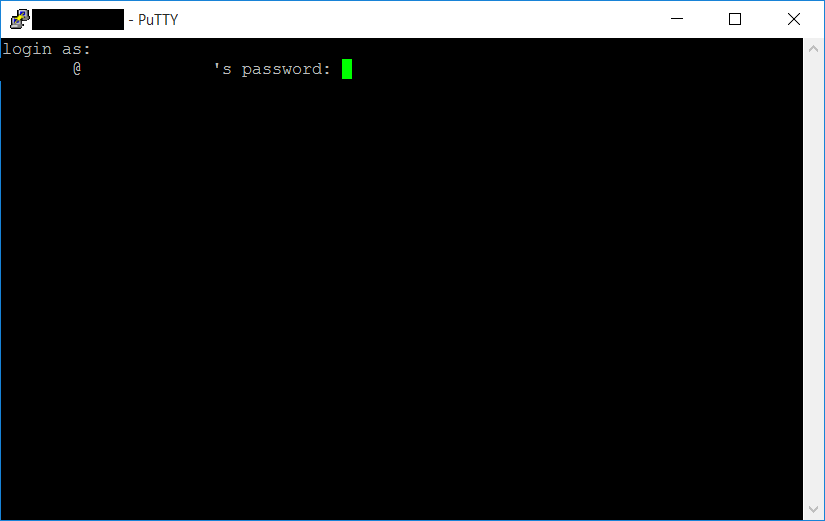
- Once you chose “Open” Putty will transform into a new, all black Window. At the very top left of the window you will find the prompt “Login as:”; here you will need to input the username provided on the system rescue page (See point #8 above) and hit “Enter” on your keyboard.
- Once you have entered the username you will be prompted for a password, here again you will need to navigate to your system rescue page (See point #8 above) and grab the password provided. You will then need to enter the password at the prompt and choose “Enter” on your keyboard.
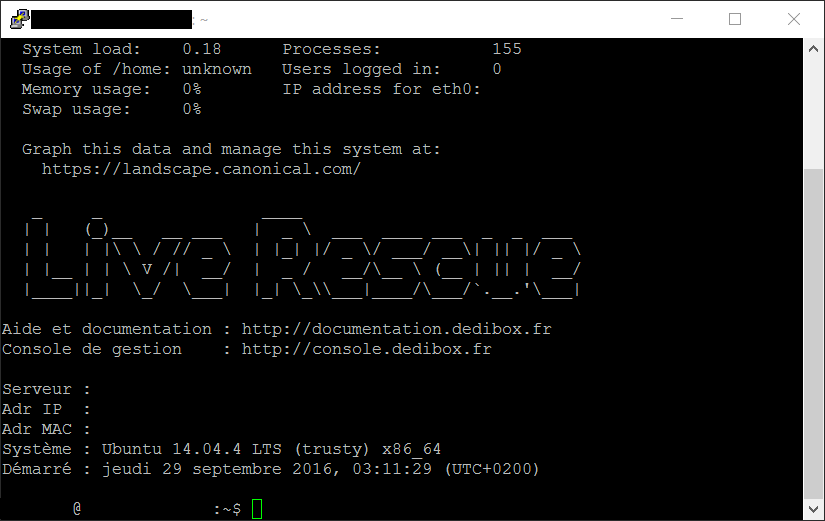
- Once you have entered your username and password you will be successfully logged into the system rescue for your server.
- Start Putty
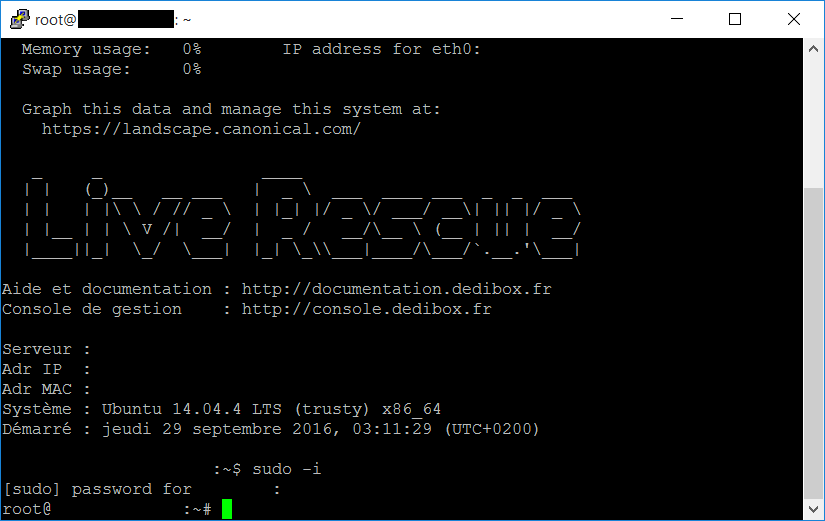
- At the prompt you will need to enter the following command:
Once you have typed in the command, choose “Enter” on your keyboard.
- You will now be prompted for a password, here again you will need to navigate to your system rescue page (See point #8 above) and grab the password provided. You will then need to enter the password at the prompt and choose “Enter” on your keyboard.
- You have now successfully connected to the rescue mode for your server and used “sudo” to gain root access allowing for Windows to be installed.
- To begin the Windows installation you will need to input the following command into your SSH client. Please ensure the command matches perfectly otherwise your installation will likely fail.
- Content Locked, Donation Required -
To access the remaining steps in this tutorial we require a small donation via PayPal using the form below.
Once your donation has been received our system will automatically dispatch an email containing your unique activation link. In utilizing your activation link you will gain access to ALL locked content on WhatUpTime.com.
PLEASE NOTE: The email with your unique activation link will be sent to the email address you use on the form below!
Why forced donations?
Unfortunately due to the rising costs of operations we are forced to require a small donation from our readers to ensure all services remain online. All donations received go toward our ongoing operational costs (servers, bandwidth, development, licensing, etc.) and we greatly appreciate every dollar received!
Need Donation Assistance?
Please contact us using our contact form here. We strive to respond to all inquiries within 24 hours, your patience is greatly appreciated!
Please do understand all activation links automatically expire after thirty (30) days.
You may donate as often as you desire to gain an additional thirty (30) days of access to all locked content.
Please input your email address and dollar amount below, then choose "Continue".
Installing Microsoft Windows onto Online.net Personal Range (XC 2016 & SC 2016)
Credentials don’t work Dedibox XC 2016 – 1TB SATA Amsterdam
The credentials above are indeed correct, which template did you install specifically from the mirror links above?
Tampoco me funcionaba y cambie el “Administrador” por “Administrator” y funciono perfecto, espero te sirva, saludos!
Excellent How-To.
My two XC 2016 were ready really fast !
Thanks thousand million times !!
You’re welcome!
Thanks for the great work
Can you create a 2008 version as well please
Thanks
Apologies, but due to the age of Server 2008/2008 R2 I do not have any plans to build templates for them. I would highly recommend you begin using at least Server 2012 R2 or Server 2016, much has changed for the better with the new versions.
EOL Dates are also fast approaching – https://blogs.technet.microsoft.com/rmilne/2014/07/24/save-the-date-end-of-exchange-2010-windows-7-and-2008-mainstream-support-t-minus-6-months/
Hi,
any chance you’d be willing to share your unattend.xml file for Win10 ltsb ?
Hello!
Presently there isn’t one, the templates are created on an alternative system and then setup to copied onto the end user’s server.
Thanks for your work!
You are most welcome!
“Activate Windows with your license key (Server Manager –> Local Server –> Product ID/Not Activated). ”
I entered the key and it shows “This edition cannot be upgraded”
Please create a thread in our community forums – https://www.whatuptime.com/community/
In order to convert from Evaluation Mode to Normal, you should use this command line :
Dism /online /Set-Edition:ServerStandard /AcceptEula /ProductKey:xxxxx-xxxxx-xxxxx-xxxxx-xxxxx
Replace “ServerStandard” by “ServerDatacenter” if you have a datacenter version.
Thank you very much, it helps me a lot!
By the way what should I do for reinstalling the windows? Just repeat this process?
You’re welcome!
Correct, to re-install Windows you simply perform the exact same steps.
Can we create a backup and restore it on a different server afterwards? If yes how?
Thank so much for the Tutorial, it helped out alot.
Yes, in theory it would be possible with a bit knowledge and work.
Please create a thread in our community forums.
Hey there,
please can you make this also for server 2008 r2?
Would be nice 🙂
Please create a thread in our community forums requesting it to be added.
Hi,
The links for the templates are broken.
Will you be updating these?
Thank you
Yes!
Please accept my apologies for the inconvenience, we are presently undergoing a small transition which rendered our older mirror links inoperable. You can read more about the transition here.
Can you be compatible with packet and internap? I found here in packet and internap’s bare metal can not be used normally.
Unfortunately I cannot say as I do not have access to either provider at this time.
Please create a thread in the community forums providing as much details as possible and I will see what we can do to expand compatibility.
30 november 2017 : for everyone, I’ve just used WhatUpTime solution to successfully install a Windows Server 2016 Standard on a Online Dedibox XC SATA 2016.
No problem with the DHCP, I get directly the access through RDP to my server. Just be carefull, the firewall is set on “enable” so you CAN’T ping the server itself. Just have to try to connect RDP from time to time after reboot. Thank you ihadp \o/
Just done the same on a Windows Server 2016 Standard on a Online Dedibox XC SSD 2016 (AMS1) with no problem 🙂 Thank anoter time to ihadp for the gain of time.